Silksong The Marrow walkthrough
How to complete The Marrow in Hollow Knight: Silksong.

The Marrow in Hollow Knight: Silksong can become very confusing, very quickly, though it is conveniently home to all kinds of tools and items that will soon make exploration much easier.
To make sure you don’t miss out on anything important, here’s our Hollow Knight: Silksong The Marrow walkthrough.
Looking for more help in your adventure across Pharloom? Check out our Silksong walkthrough.
Hollow Knight: Silksong The Marrow walkthrough
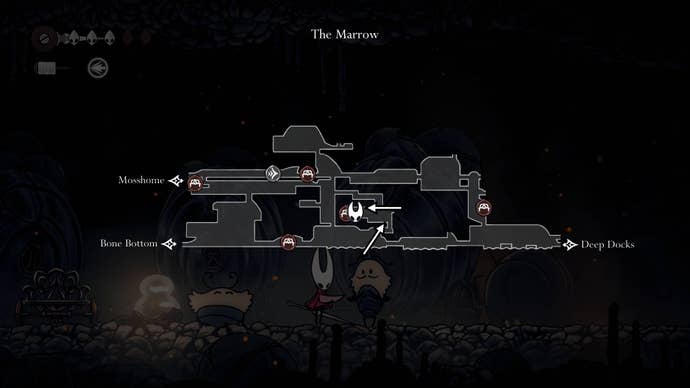
To get started in The Marrow in Hollow Knight: Silksong, you’ll want to exit Bone Bottom and meet Sherma. The gate beside Sherma is locked, but fortunately we can very quickly unlock it. Go back to where you entered this room and start going upwards.
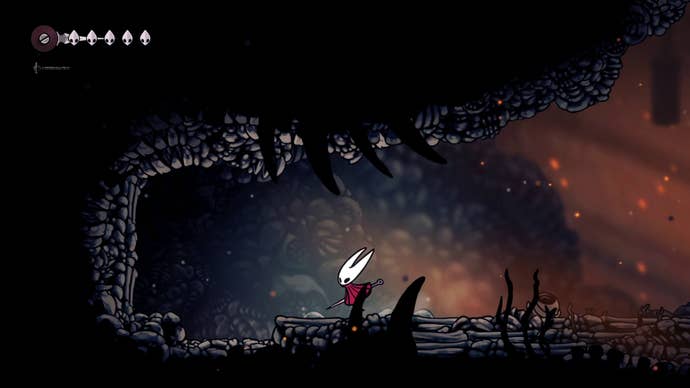
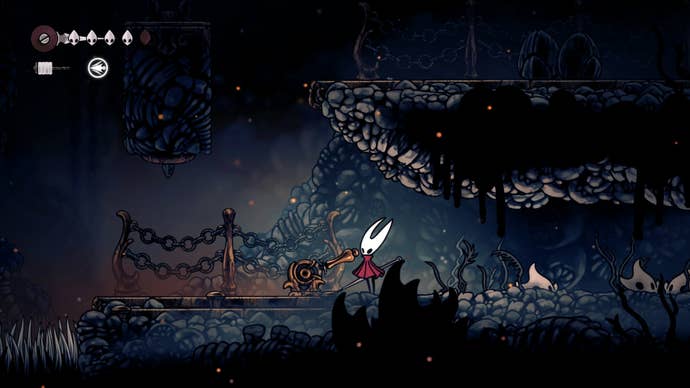
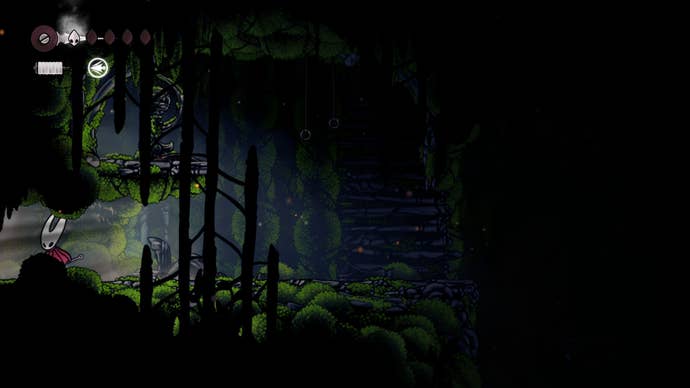
Continue proceeding upwards and keep right. After taking on some skull enemies, you will eventually come to what looks like a dead end, but if you stand on some fragile flooring to the left of this area (shown below), you’ll fall into a room where you must complete a mini gauntlet of enemies. Upon defeating them all, the gate that Sherma was beside can now be opened.
From the room with the gauntlet, drop down the hole in the floor that appears following the fight and head left, attacking the lever along the way (which opens the gate). You can now speak to Sherma again.
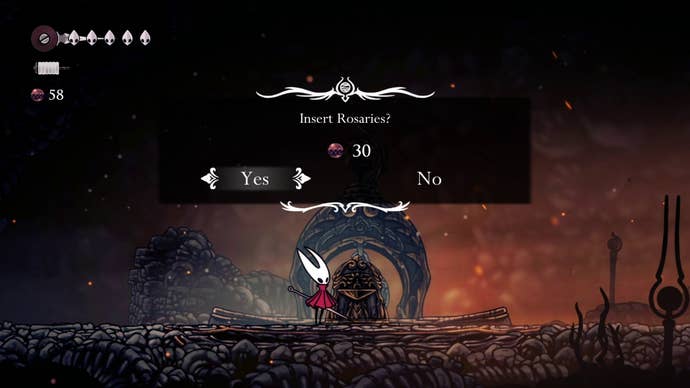
From Sherma, go right. In the following room, you can pay the structure 30 Rosaries to unlock a Bench, and I highly recommend doing so if you can afford it.
Meet the Fleas
Up next, we’re going to meet some very interesting characters… From the Bench, head into the next room to your right. Platform up to the top-right of this room – going past an illuminated signpost – and into the next section. Go past the spiked enemy (or kill it) and keep left.
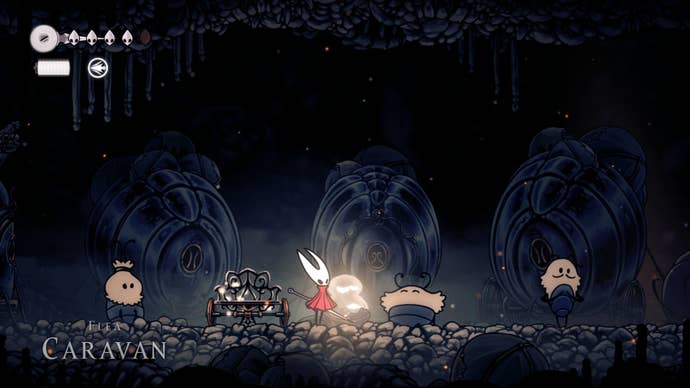
You’ll arrive at some caravans with a bunch of friendly fleas and a Bench, and if you’ve picked up any Wishes from Bone Bottom, Fleamaster Mooshka will task you with finding more fleas to join his crew.
Before leaving, use the platform on the right of this room to climb upwards. There’ll be a ledge on your left with a secret wall you can destroy. Behind it, there’s a big plate of Rosary Beads for you to claim. Exit the room and continue upwards.
Go back to your left and keep left, past more spiked enemies, to loot a Frayed Rosary String. Exit the room with the Flea Caravan and in the following area, head to the top-left corner – past a large skull enemy – to reach a new room.
Getting the Shard Pendant
Platform upwards and you’ll soon see a bone ledge with another large skull enemy on it. Defeat him and enter the room to the left of him.
In the following room, you can retrieve the Shard Pendant. The Shard Pendant allows you to retrieve more Shard Shells from enemies; you can equip it at a Bench.
With that done, leave the room and continue platforming upwards, being careful to not stand on the breakable platforms for too long. Head left into a new room – ignoring the rooms to your right for now – and drop down.
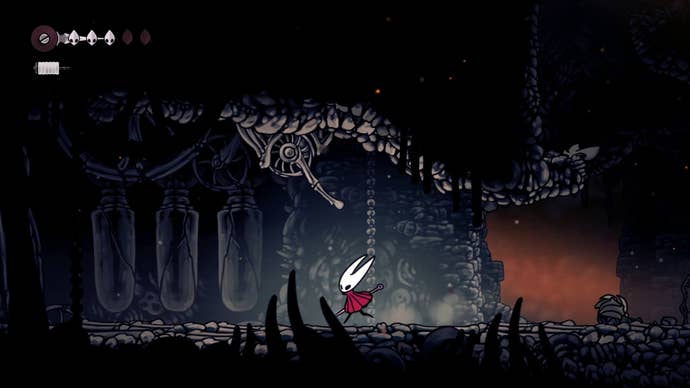
You should see a large crate being held up by a chain; attack the lever beside it, on the ground, to lower it.
Use the new ledge this crate creates to go upwards and to your left; you’ll soon find another lever to attack on the ceiling. This drops another crate that we don’t need to worry about right now.
Meet map merchant, Shakra
Next, it’s time to meet another important character. Head to the left and follow the singing voice; you’ll now meet Shakra, our map merchant. Here, you want to purchase her entire inventory when possible, starting with the maps of the Mosslands and The Marrow.
The maps, at first, aren’t all that easy to read. This is where the rest of Shakra’s inventory comes in. The Quill will make the map much easier to decipher, while the other items – such as the Compass and Bench Pins – will mark your current location on the map or Benches on your map.
If you’re low on Rosaries, don’t fret. We can easily grab some more just a short walk away.
From Shakra, keep left and low. There’s another exit to the north of us but we’ll go there soon. As you head left, keep your eyes peeled; you’ll no doubt see a Bench just above the left exit. We’re going to unlock this next.
Exiting into the left room sees you enter Mosshome (not to be confused with the Mosslands). Head to the very end (left) of the room and make your way upwards, then right, to exit the room again. You will arrive at the Bench we just mentioned and can attack the lever here, creating a shortcut between the bench and the next area.
Now is a good opportunity to farm the Pilgrim enemies in Mosshome for Rosaries, which you can then spend on buying all of Shakra’s wares if you haven’t already.
Up next, we’re going to unlock a shortcut back to Bone Bottom and retrieve our first Spool Fragment.
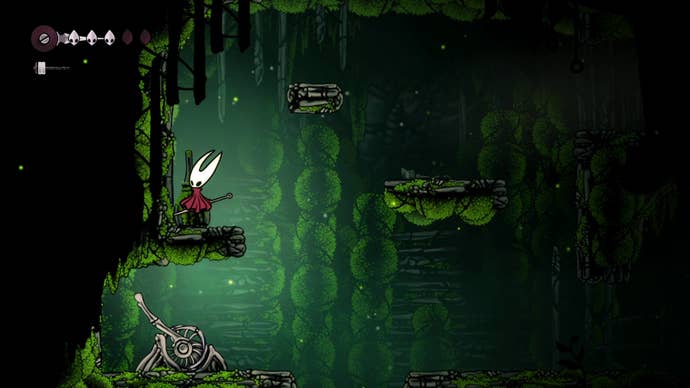
From the Bench, go right and upwards, then go left to explore more of Mosshome. In this area, use the platforms to reach – and attack – the lever on the far-left of the room. This breaks some of the floor beneath it, allowing you to jump down. Do that.
Keep going downwards and you’ll soon find an elevator that you can use to gain quick access to Bone Bottom.
Getting the first Spool Fragment
Now, that Spool Fragment… From the elevator, head right into the next room and go upwards. You’ll soon find a big bowl of Rosaries to retrieve, but don’t exit right away.
Attack the wall on the left-hand side of this room to reveal another room where you can retrieve the Spool Fragment.
With that done, we’ve two more things left to do in The Marrow (and Mosshome). Return to the Bench we unlocked earlier (which was above where we first met Shakra).
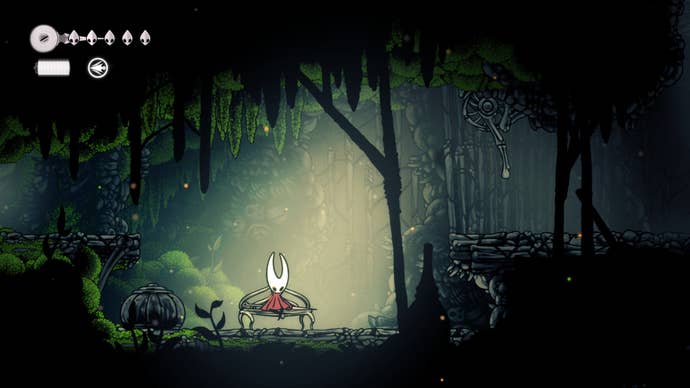
Getting the Silkspear Skill
Go upwards from the Bench and left into Mosshome again. Remember that lever from earlier on the far-left of the room (pictured above)? Go there and proceed upwards this time.
Take caution of the spike traps in the following area and proceed to your right. When you arrive at the silk barrier that you can’t yet destroy, head upwards again.
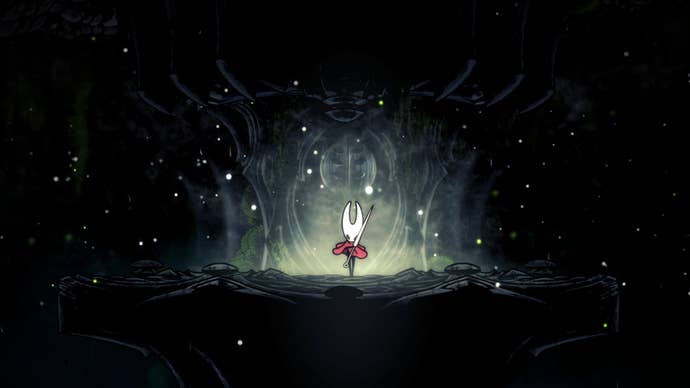
You’ll soon come to some Rosaries you can gather; head left of here to arrive at a very grand looking structure. Interact with it and our first Skill, Silkspear, is now all yours.
One final thing! Once again, backtrack to the Bench we were just at and go upwards of it again. Instead of going left into Mosshome, take a right instead, using Silkspear to destroy the silk barrier in the following room.
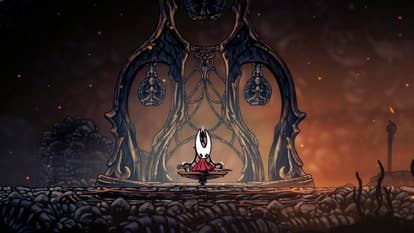
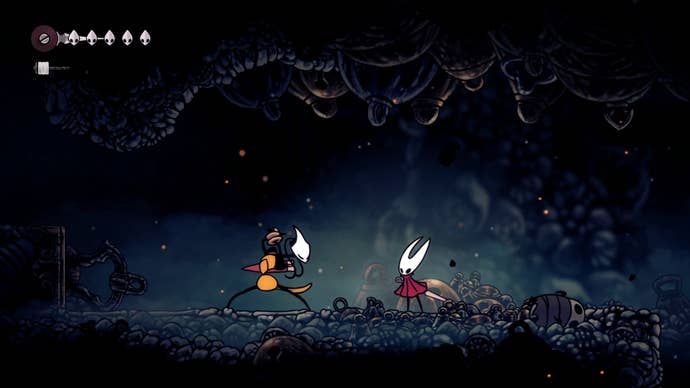
Bell Beast boss fight
In this room full of bells, a boss fight against the Bell Beast will begin.
The Bell Beast isn’t too bad of a fight once you know what to expect. For some help with beating him, take a look at our Silksong Bell Beast boss guide.
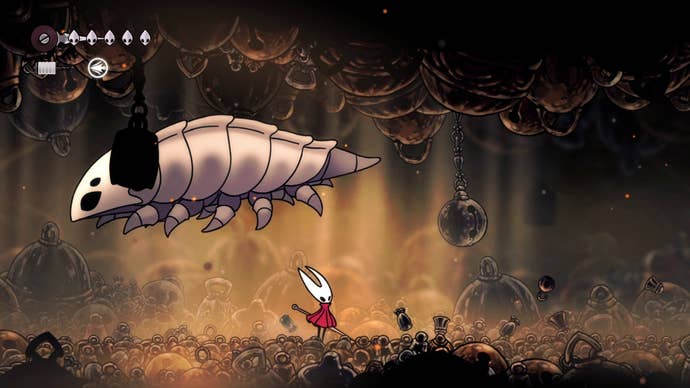
Once you manage to defeat the Bell Beast, your vessel for fast-traveling between stations is unlocked and what a cute, albeit beastly, carriage he is.
Stations, as and when you find them, will cost Rosaries to unlock. Bear this in mind.
That’s it for The Marrow. Hope you’re enjoying Hollow Knight: Silksong!