Silksong Moss Grotto walkthrough
How to complete Moss Grotto in Hollow Knight Silksong.


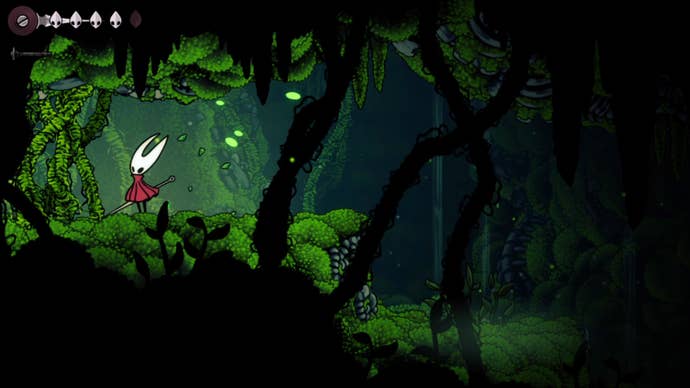
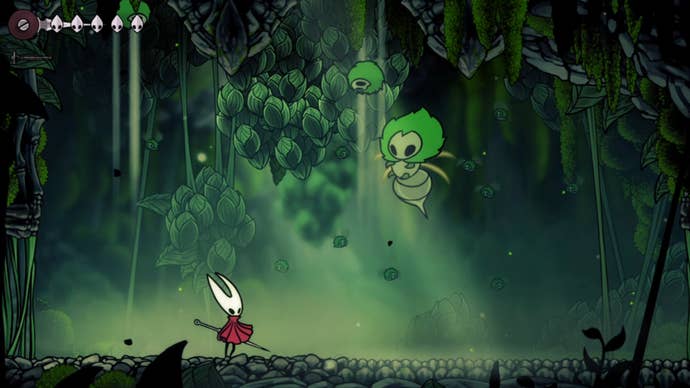
Moss Grotto in Silksong is where you start after you escape the clutches of your captors.
In this beginning area of Silksong, you'll be given ample time to get used to Hornet's controls, attack style, and get a taste of the enemies that lay ahead. Also, your first boss awaits deep in the Grotto.
Without further ado, here's our Silksong Moss Grotto walkthrough.
Looking for more help in your adventure across Pharloom? Check out our Silksong walkthrough.
Silksong Moss Grotto walkthrough
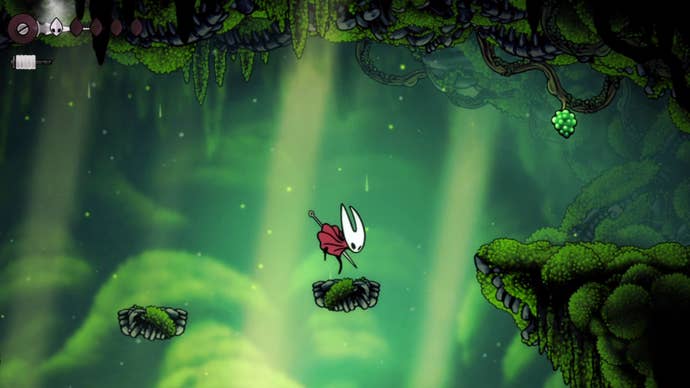
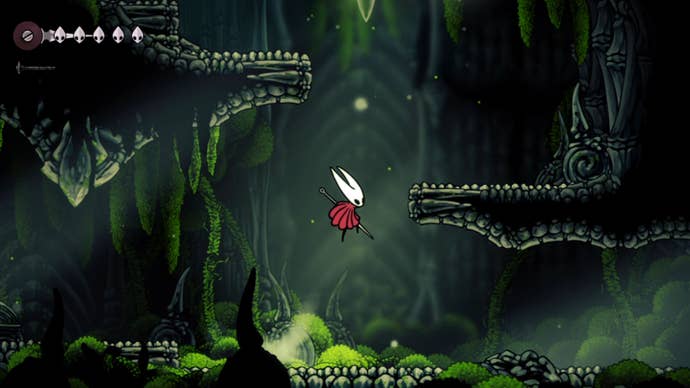
After you arrive in Moss Grotto in Silksong you need to head to the left to begin your climb upwards. You'll encounter some vines blocking your path, attack these to chop them down and then continue left.
Here, keep progressing to the left past the little moss bugs that you can attack for Shell Shards. Keep going left until you come to an area with a body of water in it.
In this area, head across the water using the platforms (or run in the water if you'd like, you won't drown) until you come to the ribcage. Climb onto the ribcage and then look up - this is where you need to go.
However, if you want to find a secret little area, head beneath the ribcage and keep heading left, you'll find yourself in a narrow place. Here, head upwards until you reach the first large platform on your right with the vines on it. Cut through these vines to make a shortcut back to the main path of Moss Grotto. You can then continue upwards to find a cluster of Shell Shard mounds you can attack to gain, well, Shell Shards.
Now, back to the ribcage. Use the floating platforms above here here to make your way upwards, this time aiming to head to the right onto the platform with the Moss Fly on it. Watch out for their attack, they'll fly over you and then charge at the ground in a downwards attack.
Find your first Mossberry
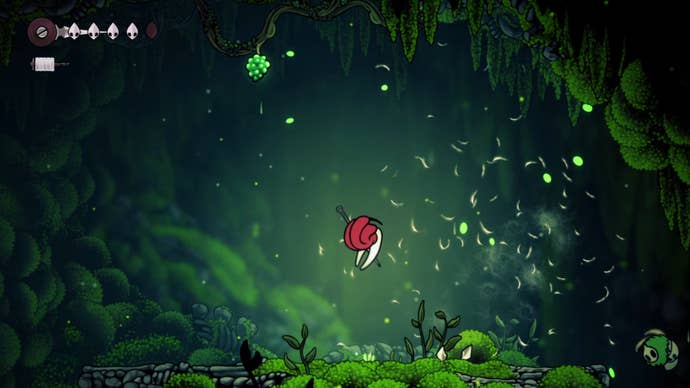
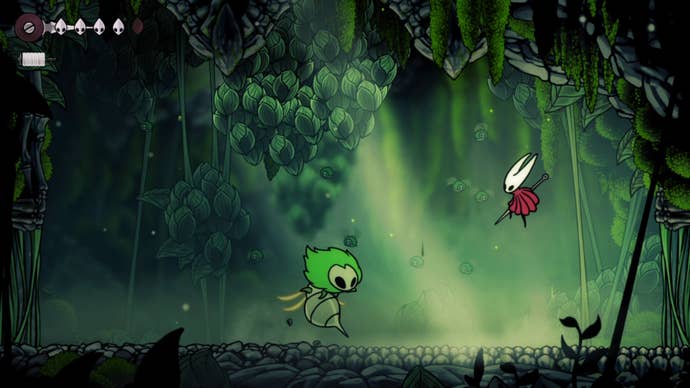
From here keep heading right, you'll come across another Moss Fly and Moss Bug. At this point (after defeating both) head up the small platform to the right.
Climb this platform and then keep heading to the right, encountering another Moss Fly, until you come to a ledge with green berries hanging above it. Strike these to collect them, you've just grabbed your first Mossberry!
Collect Frayed Rosary String
Now, drop back down to the area below (where two Moss Bugs are), then continue through to the right. Hornet will have a bit of a moment here, so don't worry, it's not your device having issues.
After Hornet recovers, keep following the path to the right until you come to a gap. Here, pan the camera down and you should see something glowing on the ledge below. Carefully make your way down here to collect Frayed Rosary String - a useful item a bit later on.
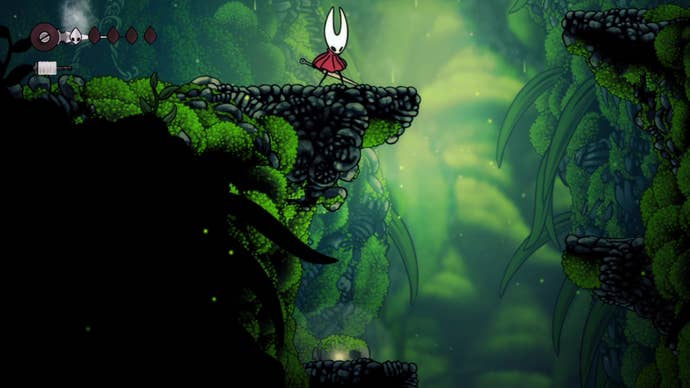
Make your way back up to the main path you just dropped down from, hop across the gap then continue right into the next area. There is a locked door further into this area, but that's inaccessible for now so you can ignore it.
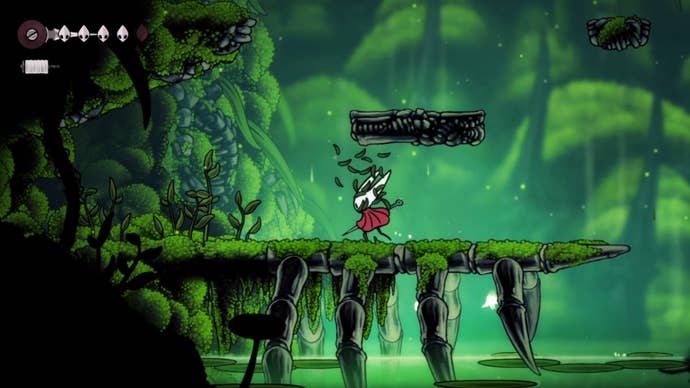
So, in this area, continue to the right until you come to a set of platforms leading upwards. Climb up these, and you’ll get to an enemy that rolls itself around the next platform you need. We found the easiest way to defeat them is to stand on the platform slightly below it and wait for them to uncurl at the top of their platform, then attack them. Do this a few times and they'll soon perish.
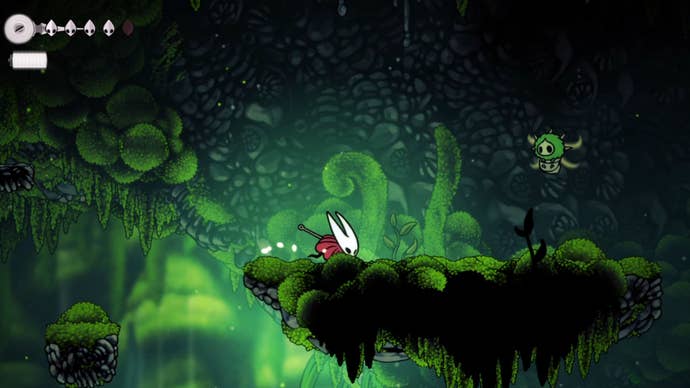
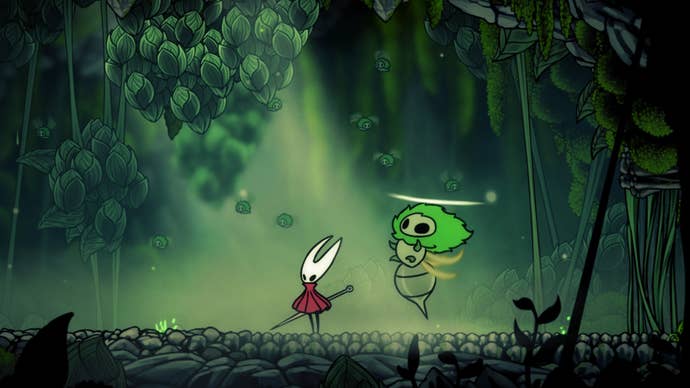
Find the second Mossberry
Continue climbing upwards and head left here, onto another solid platform. Defeat the bug here and continue heading left, then carefully drop down to a statue on a ledge - attack to get Shell Shards.
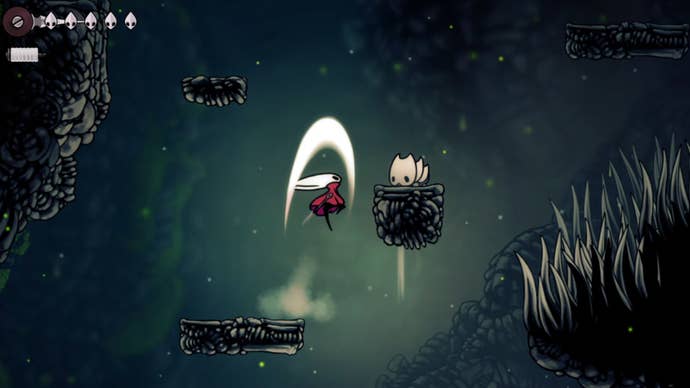
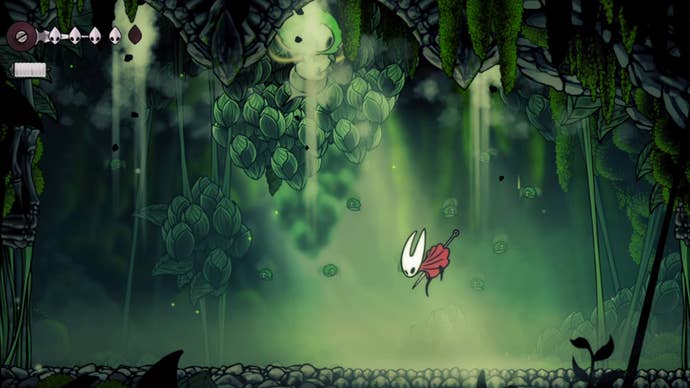
Then, head upwards again to find a larger platform with a Moss Fly on it. Pan the camera up and you'll find another Mossberry. Use your diagonal attack here to jump off the flying enemy to reach them.
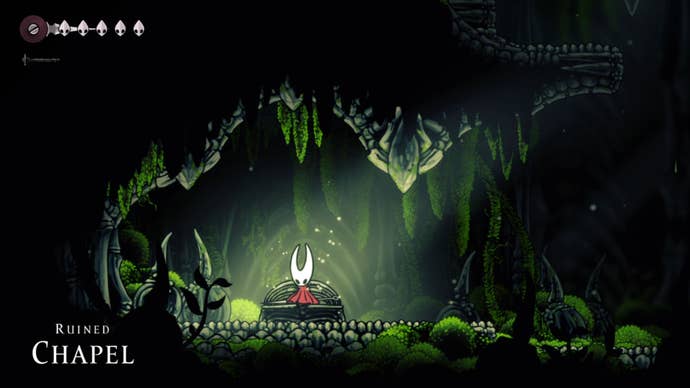
Enter the Ruined Chapel
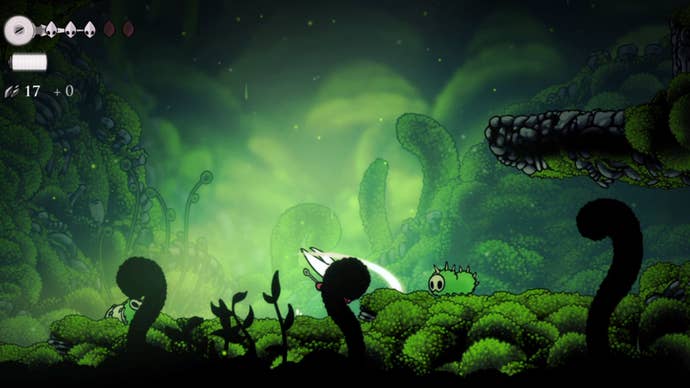
Continue to head to the left now, follow the path here until you jump across a gap and find some vines. Attack these to slice them away and then walk through to them to the next part of Moss Grotto.
At this point, Hornet will have another moment. Wait for this to pass and then keep heading left to find a Bench. Rest here a moment to replenish health and save, you're also now at the Ruined Chapel in Moss Grotto.
From the bench, head right and then climb up the platform here just above the entrance you came through a moment ago.
Then, continue climbing upwards before following the path to the left to find yet more vines blocking your path. You know what to do, slice them away and continue through the newly revealed doorway. It's now time to face the Moss Grotto boss - the Moss Mother.
Defeat Moss Mother
We recommend using Hornet's diagonal attack ability to defeat Moss Mother, this attack deals decent damage and gives you enough room to dodge her incoming attacks. The fight with Moss Mother, thankfully, happens in quite a wide area which gives you plenty of room to move too.
Moss Mother's main attack is flying at you with her stinger. If the stinger clips you in any way, you're going to be damaged. We found it best to jump into the air when Moss Mother targets you and then use Hornet's diagonal attack to safely damage her from above.
Her next attack actually comes from above, but keep an eye on Moss Mother as she often combines her stinger attack with this one. For this specific attack, she'll charge herself up then headbutt the ceiling.
At this point, three lines of dust will start to rumble out of the ceiling. Pay attention to these, as they are showing you exactly where parts of the ceiling are going to fall down. Make sure you're not standing underneath these spots to avoid getting crushed.
Another similar attack to watch out for will be when Moss Mother headbutts the ceiling but only two dusty areas appear. From these, two Moss Bugs will drop down and you’ll need to defeat these while watching your back for Moss Mother's other attacks.
After you've dealt enough damage, Moss Mother will be dazed briefly and you can repeatedly attack her. At this point, we recommend switching to normal attacks as they're faster than the diagonal one.
All you need to do is rinse and repeat until you've defeated Moss Mother!
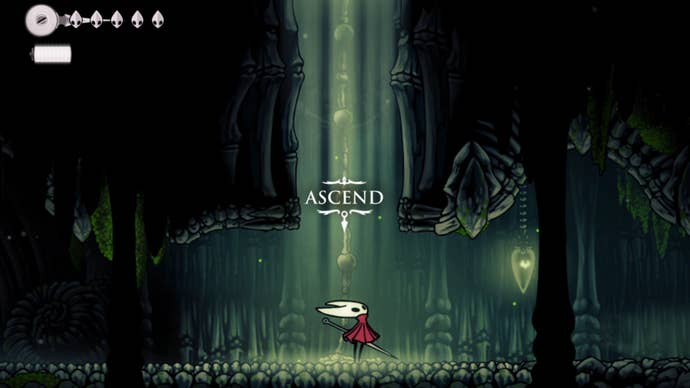
Once you've beaten Moss Mother, head to the left and ascend the chain here. When you reach the surface you'll officially be out of Moss Grotto - but your adventure is only just beginning.
We hope you enjoy your adventure in Hollow Knight: Silksong!