Silksong Far Fields walkthrough
How to complete Far Fields in Hollow Knight: Silksong.


Far Fields in Hollow Knight: Silksong can be a bit of a maze depending on what order you explore it, and with some bad luck, you might even find yourself stuck here for a time. Fortunately, Silksong's Far Fields is home to even more useful abilitiesto help with your traversal of the map.
To help ensure that doesn’t happen and make sure you grab all the key items in Silksong's Far Fields – including a great new ability that’ll allow you to use the area's updrafts – here's our Silksong Far Fields walkthrough to help.
Silksong Far Fields walkthrough
As is typically the case when venturing into a new area of Hollow Knight: Silksong, you’ll first want to find where Shakra is hiding and purchase the Far Fields Map from her. Make sure your pockets are laden with 50 Rosaries for this – as well as 80 more Rosaries for the upcoming Bellway – and let’s get going.
Meet up with Shakra and purchase the map of Far Fields
You'll likely enter Far Fields from its south entrance. From here, you want to keep going right and into the next room. In this room, keep going right to the exit again, taking caution of the aggressive red ant enemies in this area.
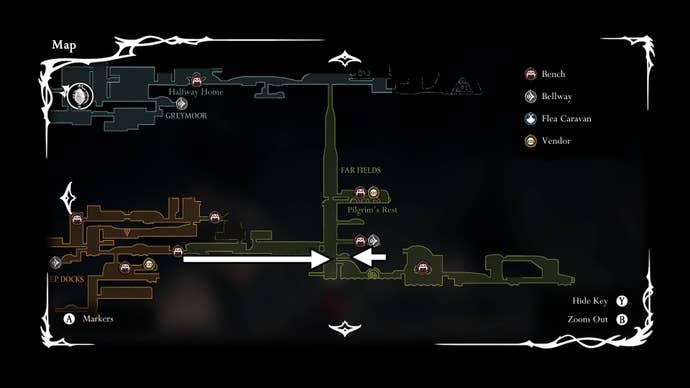
The following room will feature multiple wooden platforms and updrafts that we can’t use just yet. Continue going right until you come to a ledge and enter the next room (marked on the above map), where you’ll find Shakra. If she disappears from this spot and you haven’t purchased the map of Far Fields yet, you should find her back at Bone Bottom.
Unlock the Bellway Station
As you can see on the above map, a Bench and the area’s Bellway Station are in the room just above where Shakra is found. Exit Shakra’s dwellings and go upwards into this room, where you’ll need to pay up plenty of Rosaries to unlock both the Bench and the Bellway.
Remember, you can always return to Mosshome – or even to the red ant enemies at the beginning of this area – to farm some more Rosaries if need be.
With those unlocked, it’s time to pay a visit to Pilgrim’s Rest in Far Fields.
Find the Flea and pay a visit to Pilgrim’s Rest
To find our next Flea and get to Pilgrim’s Rest in Far Fields, we’ll want to do a little bit of backtracking.
From the Bellway Station, exit the room and go left into the room with the red ant enemies. In the top far left corner of this room, you’ll be able to jump up into a small alcove shown below. In here, destroy the wall on your right.
In the next area, go up to the first ledge on your right. You’ll arrive in a small room with a trapped Flea and a red ant enemy; dispatch them and free the Flea.
You can now exit this room and continue upwards, then right, to reach Pilgrim’s Rest. You’ll also find Sherma here, singing away.
It costs 30 Rosaries to enter Pilgrim’s Rest each time, so be sure to enter and rest here as soon as you cough up the fee; talking to Sherma first will see the door close and you will have to pay again to enter.
Once you’ve finished up at Pilgrim’s Rest, we’re off to get the Warding Bell. More backtracking!
Get the Warding Bell
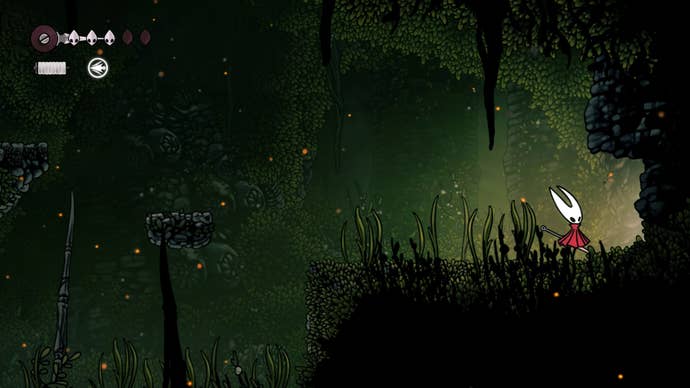
Exit Pilgrim’s Rest and dive to the bottom of the cavern, being careful to avoid any enemies along the way. At the very bottom, take a left into the next room.
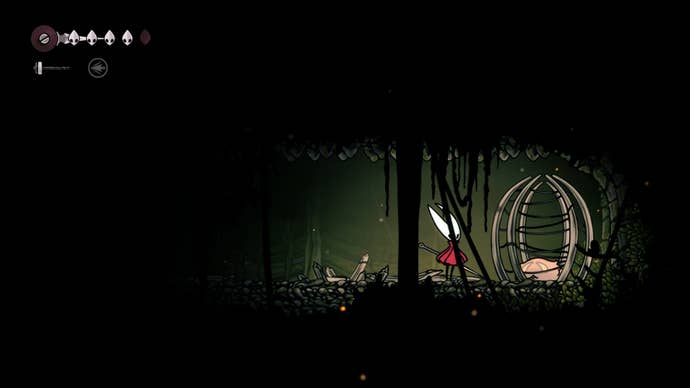
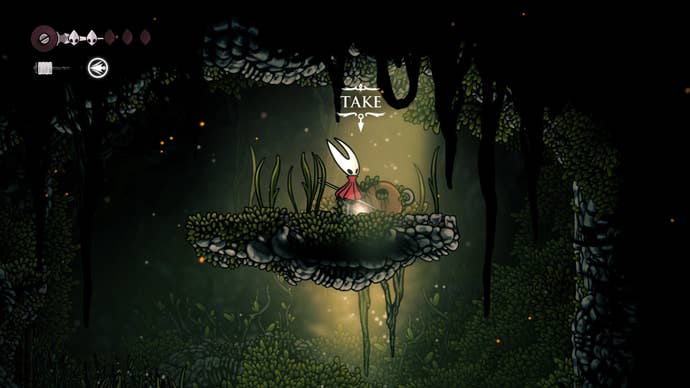
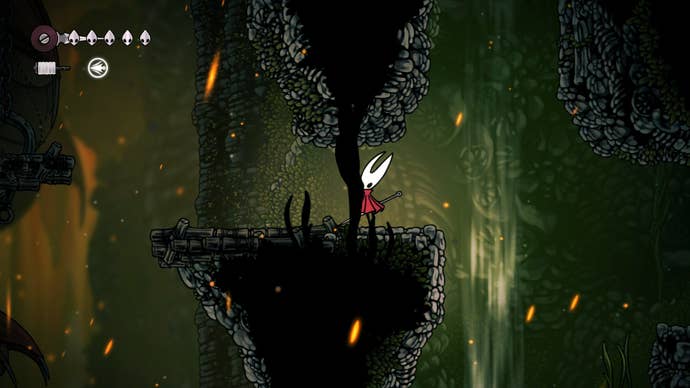
This next room might seem like a dead end, but at the far left side of it, you can jump upwards onto a ledge to reach a hidden area.
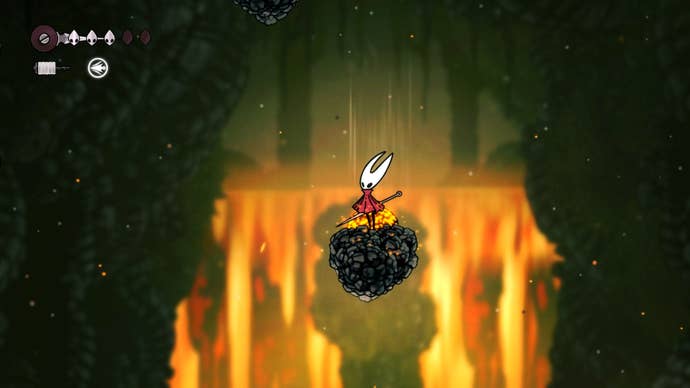
Platform to the top of this hidden area to retrieve the Warding Bell. The Warding Bell, when equipped, will protect you from attacks while you are binding (healing).
Up next, we’re off to do three more things before we’re done with Far Fields: we’re getting ourselves a new ability to use, fighting a boss, and getting a Mask Fragment.
Visit the Seamstress and complete the Flexile Spines Wish
Exit the room with the Warding Bell and enter the cavern with all the updrafts again. This time, you want to platform up to the first ledge on the right-hand side of the room (this is the ledge just below the room that Shakra is in), which will lead to a new room.
In this next room, drop down to the bottom (it’s safe, I promise) and keep right until you enter another new room.
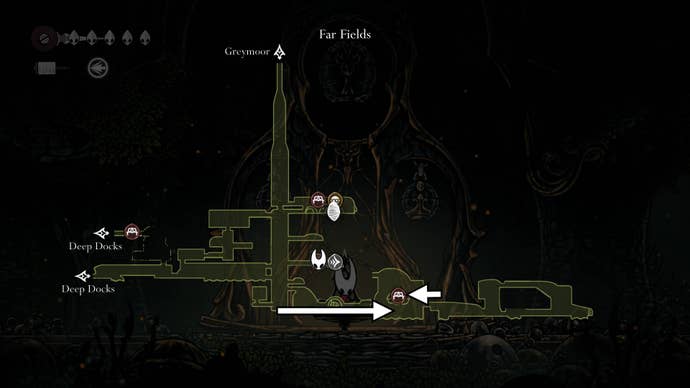
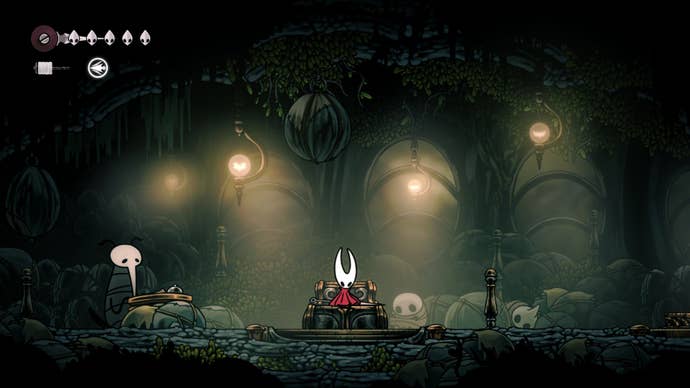
This next room contains the Seamstress’ Tent, a safe area with a Bench and the Seamstress NPC. To reach her humble abode, platform to the right of the room until you reach the exit. Do not exit and instead go back on yourself, using your dash to reach the upper ledge (shown below) that is left of the exit.
From here, you’ll be able to jump and dash across some wooden platforms to reach the Seamstress’ Tent. Head inside and chat to her to collect the Flexile Spines Wish. Make sure to rest at the Bench here before continuing too.
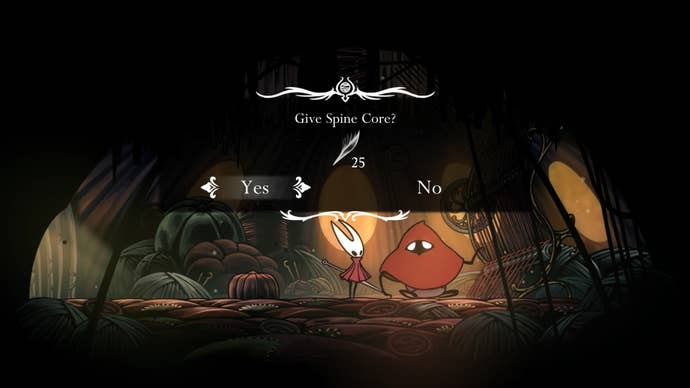
Before we go ahead and do anything else in Far Fields, we want to complete the Seamstress’ request and collect 25 Spine Cores for her. This can be done by attacking the Hokeys in the area to the right of the Seamstress’ Tent and retrieving the daggers that they then disperse.
For more help with the Flexile Spines Wish, take a look at our guide on how to get Spine Cores.
Once you have 25 of them, deliver them to the Seamstress and she will upgrade Hornet’s Cloak into the Drifter’s Cloak, giving you the ability to glide and therefore ride the updrafts in this area.
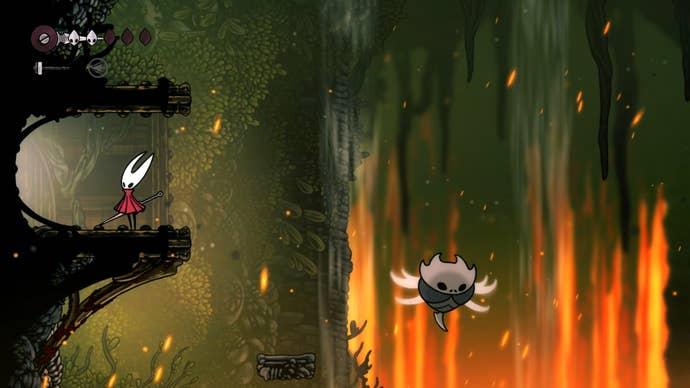
Beat the Fourth Chorus
Up next, you’ll need to complete a boss fight against the Fourth Chorus to actually be able to leave Far Fields and return to Bone Bottom or continue progressing.
Exit the Seamstress’ Tent and take a left. Soon enough, you’ll encounter the Fourth Chorus… bonus points if you noticed him when walking past his sleeping body earlier!
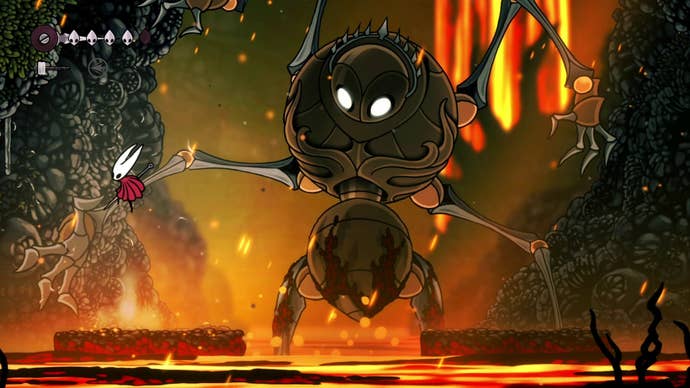
This fight can take some getting used to but is fortunately not as hard as prior boss, Lace. If you need some help with it, take a look at our Fourth Chorus boss guide.
Use your new Cloak to get the area’s Mask Fragment
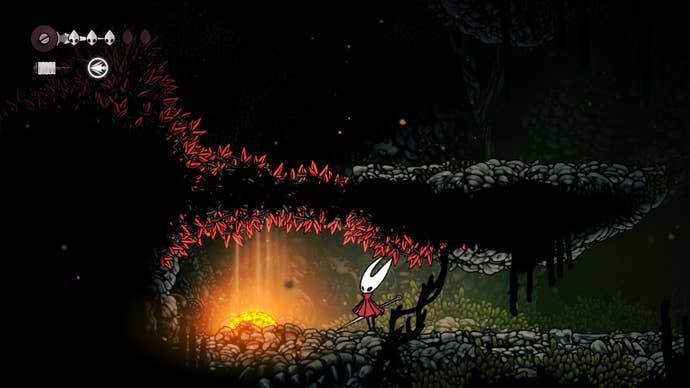
Once the Fourth Chorus has been defeated, we’ve one thing left to do before venturing into an all-new area. Return to the Seamstress’ Tent and use the updrafts to the right of her tent – near the exit – to reach the top of the room. Take caution of the red spikes along the way here.
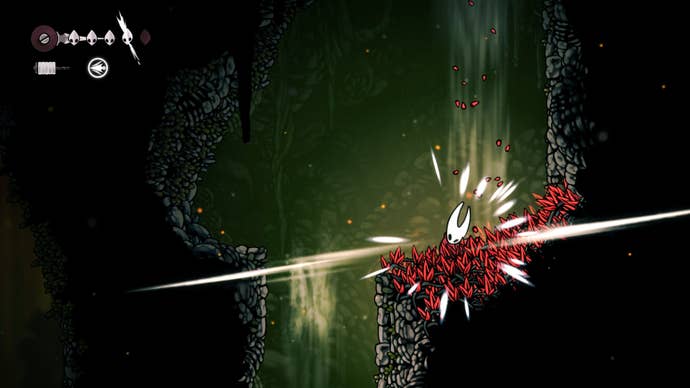
From here, continue to your left and ride the updrafts to the top of the room. You may need to destroy some molten rocks to reveal new updrafts for you to use.
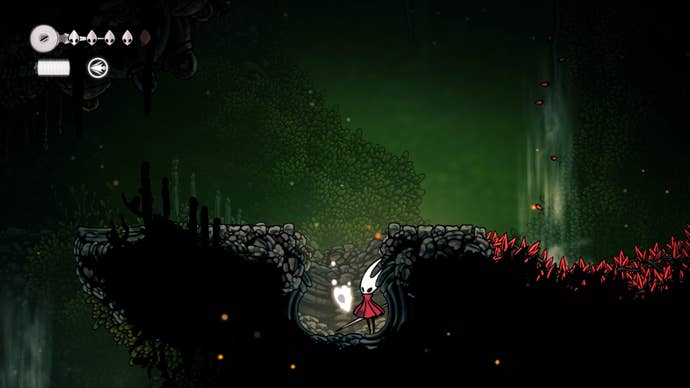
There will soon be a ledge to the left of the room that you can land on; keep left to enter a new room. In this room, destroy the molten rock on the lower level to reveal an updraft; ride this upwards and glide to your left.
In the left of this room, there are two more molten rocks to destroy, both revealing updrafts. Destroy them and then use the rightmost updraft – shown below – to reach the molten rock on the ceiling; hit it.
The molten rock will fall and destroy the flooring, revealing a Mask Fragment beneath. Grab it! With that done, we can now use our new Drifter’s Cloak to reach the game’s next area, Greymoor.
Make your way to Greymoor
To reach Greymoor, exit this room and return to the Seamstress’ Tent. From there, continue left, riding the updrafts in the area left of where you beat the Fourth Chorus.
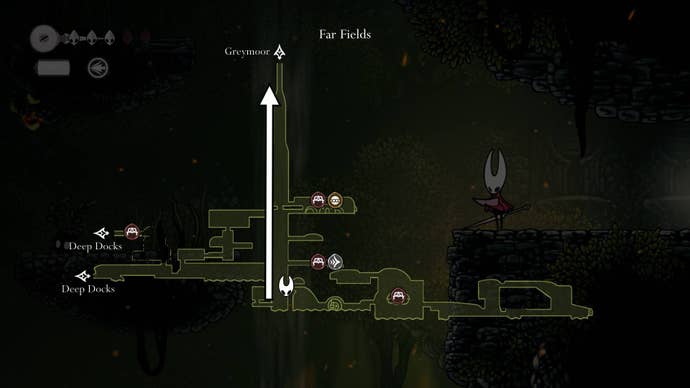
You will then want to use the updrafts in this cavern to reach the very top of the room, past Pilgrim’s Rest, which ultimately leads to Greymoor.
For more on Hollow Knight: Silksong, take a look at our Silksong walkthrough.