Silksong Deep Docks walkthrough
How to complete the Deep Docks in Hollow Knight: Silksong.


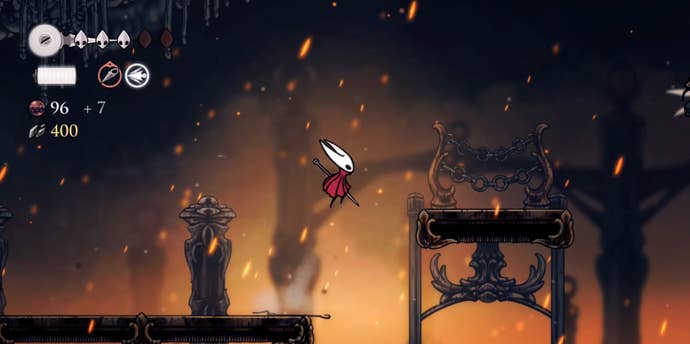
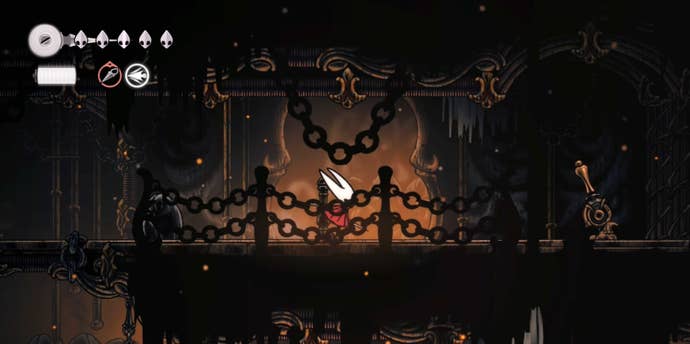
Deep Docks is the third major location you'll visit in Hollow Knight: Silksong. Rather than water (like the name does suggest), you'll have to help Hornet navigate lava fields. Falling in will get her a little bit toasty…
You'll arrive at Deep Docks in Silksong after defeating the Bell Beast to unlock fast travel and it can be quite tricky to take the right path. Though thankfully, you don't have to wait very long to purchase the map!
So look below to find our Deep Docks walkthrough for Hollow Knight: Silksong down below.
Looking for more help on your adventure through Pharloom? Check out our Hollow Knight: Silksong walkthrough.
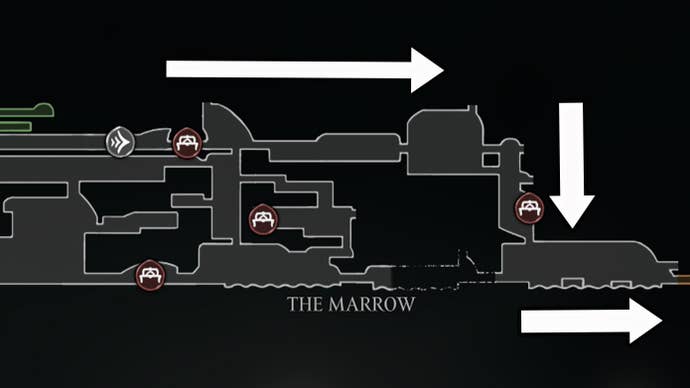
Silksong Deep Docks walkthrough
After you've defeated the Bell Beast, it's time to continue your journey right through The Marrow Bellway. This will take you to a room where you can unlock a Bench, which is worth sitting on before you continue forwards.
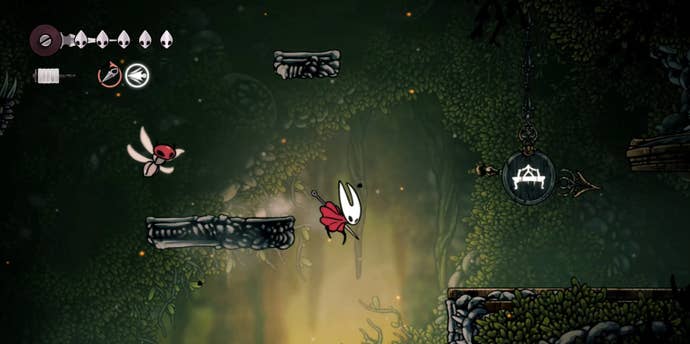
The next area begins with a spike section navigated by jumping from platform to platform. Be warned though - these platforms will vanish shortly after you've jumped on them, so move Hornet quickly. Keep going forwards, avoiding the spikes and collecting any Rosary Beads you see, until you reach the end of this area.
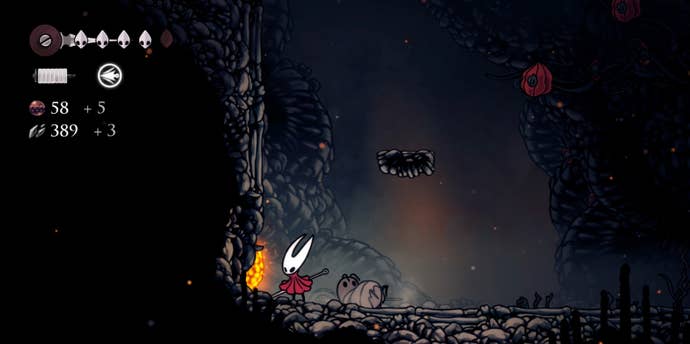
You'll now reach a room where you need to jump down to the floor and defeat the corrupted bug awaiting you. Here you'll also see a wall that, when hit, will explode to reveal a secret tunnel.
Heading down this tunnel will take you to another explodable wall. Hit this wall and run away quickly to avoid getting hit in any of the incoming explosions. Once the fireworks have ended, go back down to the tunnel to find some ore. Hitting this will get you one Craftmetal, which can be used to make tools. Just be wary of the enemy on the ceiling (it will try to hit you with its back-knives) and the spikes on this journey!
Leave this tunnel and continue your journey right, dropping down to a lower level when you reach a hole. Continue going forward until you reach another drop and head down. There are a number of off-shoot rooms in this location - one containing a big red bug you might not be able to defeat at the moment and the other containing a Bench.
Though there's more to this second room than meets the eye. Jumping onto the platform above the doorway will lead to a series of platforms, which will take you to the jail cells. The doors of which can be destroyed by hitting them.
The bug in the left-hand cell will attack you, but Grindle in the right-hand cell is quite friendly. (And will probably become important later…) You can also get the Straight Pin Tool jumping from Grindle's cell into the one above.
After having a little sitdown and jail breaking, continue your journey downwards. Make sure you avoid both the spikes and falling rocks. You'll soon find a hole that will take you down into another area.
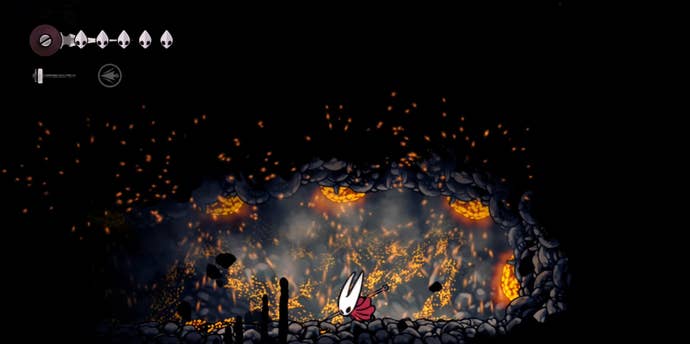
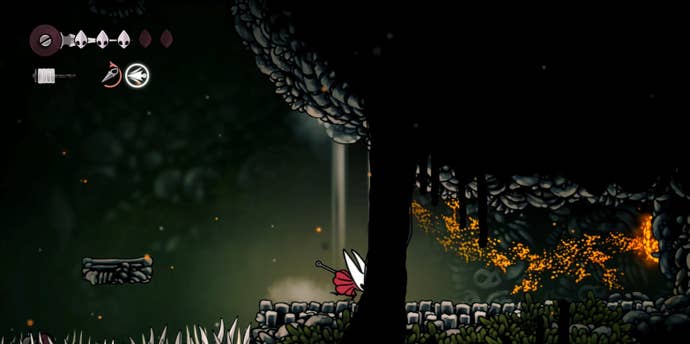
Here you'll want to head right until you can drop down to the lower levels. Though make sure you look down! Lava lies below and, if Hornet falls into, she will lose health. This section is a good introduction into what awaits you in Deep Docks as it contains two of the enemies you'll be facing and a lot of lava. Carefully make your way to the doorway on the far right.
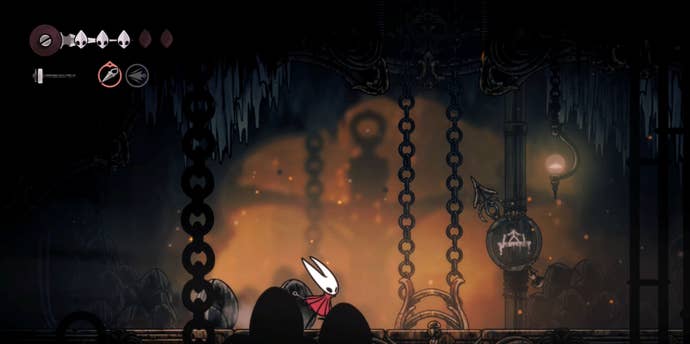
Next continue going forward until you reach a sign with a bench on it. Follow this sign and the elevators (and the ones which come after them) to reach the Bench. You will have to pay 30 Rosaries to unlock it, but it's a good save point if anything goes wrong in Deep Docks.
Now head back down the elevators and go right to truly enter Deep Docks.
How to get Swift Step Ability
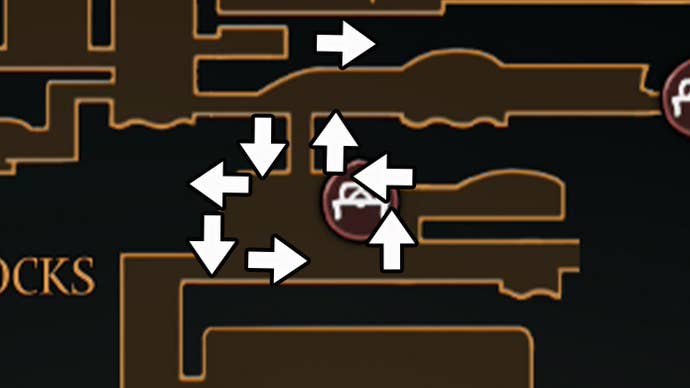
The first order of business is to drop down slightly to find both the Bellway and Shakra. I highly recommend at least buying the Deep Docks map from Shakra as it will be very helpful in navigating this area. It will cost 50 Rosaries. If you have enough Rosaries left, you can also spend them unlocking the Bellway for this area.

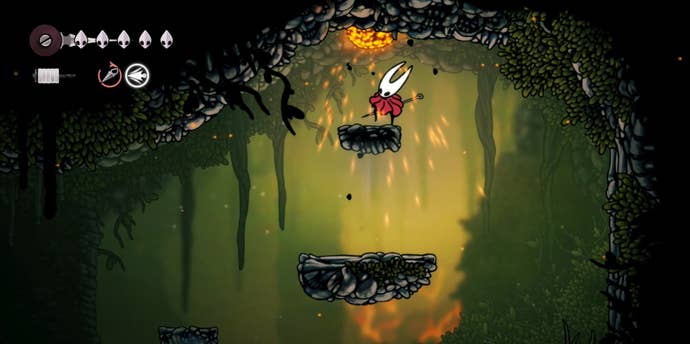
It's now time to head up once again! Jump from platform to platform until you reach the top, watching out for the flying corrupted bug as you go. It will throw red lava balls, which will explode at you. If your aim is good though, you can send these balls back to the bug.
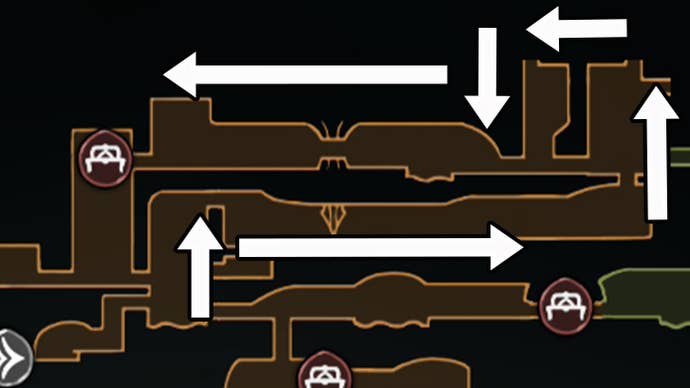
Once you're at the top of the area containing Shakra, head through the doorway on your right. This will take you to an area once again filled with lava and enemies. Keep going right until you can't any further. There you'll see two platforms leading Hornet upwards to an explodable rock in the ceiling. Hit this rock, and get out of the blast zone, to open a new path.
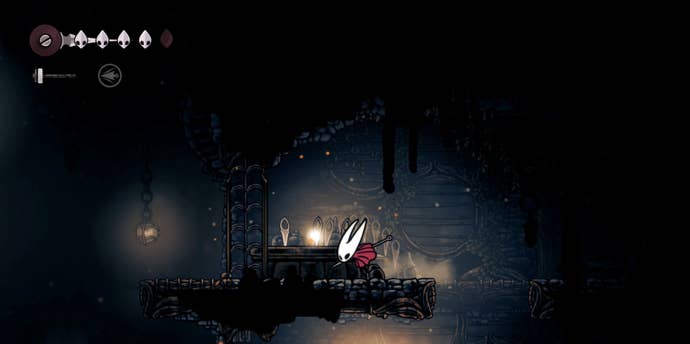
Your first job in this new area is to head to your right and, if you have 30 Rosaries spare, unlocking the Bench. It will come in handy if events go wrong! If you're running low on Rosaries, you can also backtrack to the previous area where there are some sitting on a rock.
With that done, head upwards. Again it's a matter of defeating enemies and avoiding the spikes! When you reach the top, go through the opening and head left but be prepared for another enemy gauntlet. Watch out - that bug lantern is about to be thrown at you.
Out of all the foes you'll face during this gauntlet, the one which could cause you the most trouble is the red ant with two knives. Not only can it burrow underground, but it can toss those knives at Hornet. The trick to defeating it is to jump over the knives, watch the dirt coming up from the ground to know where it will appear and to ideally defeat it using po-going.
After defeating the gauntlet, continue forward and head down the new passageway. When you reach the bottom (where the big spike pit is), it's a good idea to first destroy the wall to your right. Doing so will create a shortcut back to where you first entered this section from, giving you easy access to that Bench you hopefully unlocked. (If you didn't but now have the Rosaries to do, I recommend checking that sorted.)
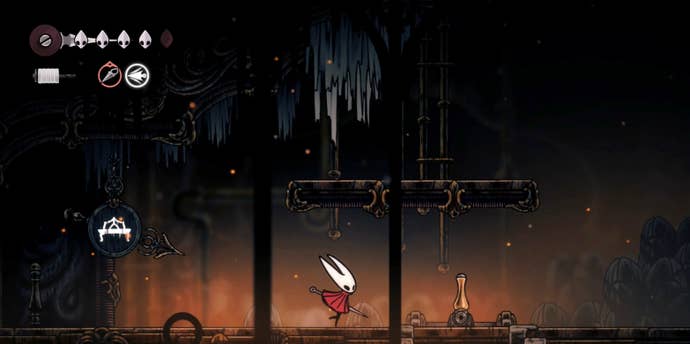
When you're ready, head through the left-hand doorway and you'll soon reach the point where you can unlock the Swift Step ability. This is essentially Silksong's dash. Using it lets Hornet run faster and jump further. (Though it's not technically the game's double jump.)
After unlocking it, head to your left and hit the nearby lever to return to the first Bench you unlocked in Deep Docks.
Now you've unlocked Swift Step, it's time to work on leaving Deep Docks. Though there's still quite a bit of work to do on that account.
How to reach the Deep Docks boss
First you need to head back to where Shakra is and head through the doorway to her right. At this point, you can either head straight to the next boss fight or unlock a new Bench. I highly recommend unlocking the new Bench, especially if you haven't paid to unlock the first Deep Docks Bench. Trust me, you're going to want it.
To find the next Bench, you need to follow its signpost downwards and then go left. This will take you to another elevator and, after taking it, head to the right and you'll be thrown into another enemy gauntlet. Best of luck!
Once these foes have been defeated, jump up the platforms which have appeared and hit the switch. Taking the right path will lead to the Forge Daughter, who can craft useful items in exchange for Craftmetal and Rosaries, and going left will take you to the Bench. There will also be a switch that will open the gate, allowing you to return to the doorway you entered this area by.
Now you just need to hop back up those platforms and return to the area with that Bench signpost I advised you to follow. Next to that signpost, you'll see a platform. Jump onto that and then dash jump over to the next platform to find a switch that needs hitting.
This will open the nearby gate, but, before proceeding, I highly suggest returning to the Bench you just unlocked and have a sitdown. This is because you've very close to the next boss fight! It's also a good idea to equip any Tools you might have, especially the Straight Pin Tool.
When you're ready, head through the gate and be prepared to fight Lace for the first time. We've got a Lace (Deep Docks) boss strategy to help you defeat this musical foe.
Hope you've enjoyed exploring Deep Docks. If you're looking for more assistance, check out our Hollow Knights: Silksong walkthrough.